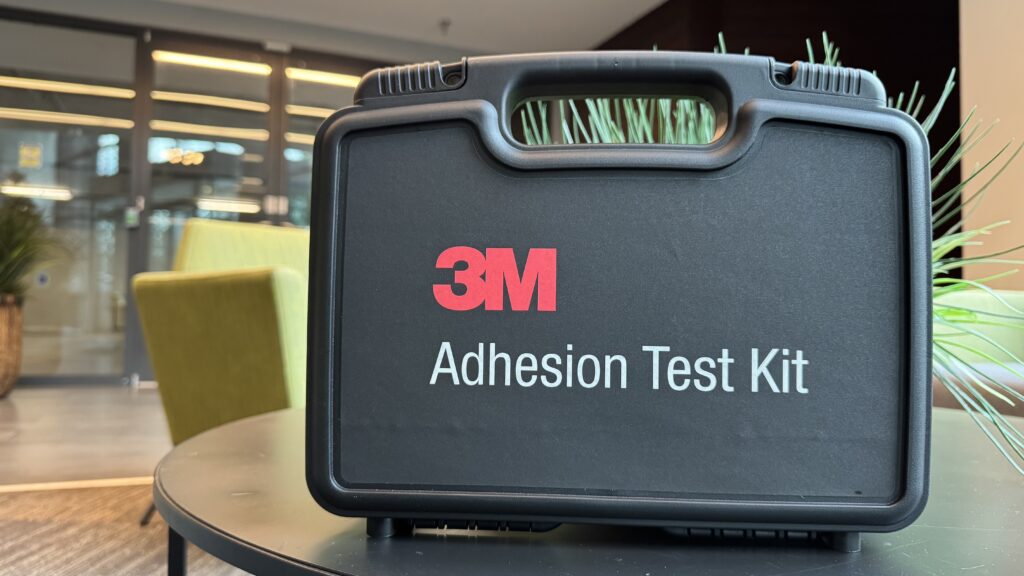
Wall graphics often look easy once they are on the wall, but the real work starts much earlier. The type of paint, the wall surface, and even past cleaning products can affect how well vinyl sticks. That is why many installers check the wall first with a 3M adhesion test kit. This quick test helps confirm if the surface is right for graphics and helps avoid issues like peeling edges or graphics falling off after installation.
Wall graphics can fail even when the wall “looks fine,” and that is exactly why a quick adhesion test matters. 3M says the right wall prep and an adhesion test can be the difference between a successful install and a graphic that falls off the wall early, which is a pretty direct warning from the manufacturer. A common issue is modern low-VOC paints: they can feel dry to the touch but still create a surface that makes pressure-sensitive adhesives struggle, so the graphic may look okay at first and then start to lift later; 3M specifically calls out low-VOC painted walls and recommends cleaning with their enhanced method and testing to confirm the film can build adhesion.
Texture and contamination add risk too—3M’s substrate prep guidance explains that rougher surfaces reduce contact and that poor prep can lead to adhesion problems (and even void warranty coverage). The upside is that adhesion testing gives you a clear “go/no-go” signal before you print and install: 3M’s smooth wall checklist even sets a numeric benchmark (1000 g at 15 minutes) for eligibility under the 3M MCS Warranty, so you avoid guesswork, and you avoid finding out the hard way after seeing edges curl.
When we explain wall graphics at DA-Customs, we like to keep this part simple. The 3M adhesion test kit helps us confirm if a wall can hold vinyl before we move forward with print and install. Many walls look fine on the surface, but paint type or past cleaning can still cause issues. This test removes the guesswork and gives a clear answer early. 3M recommends adhesion testing for painted walls, with extra care for newer paint and surfaces with an unknown history. In real projects, this step helps avoid delays, wasted material, and last-minute changes.
We usually recommend this test in the following cases:
From our experience, a short test at the start saves time later and helps the project stay smooth from first visit to final install.
Before we run an adhesion test, we follow a clear order. This keeps the results accurate and avoids false readings that can cause problems later.
Following these steps helps us trust the test results and move ahead with the right plan.
Once the wall is ready, we keep the test process simple and consistent. This makes the results easy to trust and easy to explain to clients.
This quick process helps us decide the safest path forward and avoids surprises once the graphics are on the wall.

Once the test is done, the wall usually gives a clear answer. If the sample holds the weight without slipping or lifting, that is a good sign that the surface can support wall graphics with the right material. 3M uses a simple reference point of 1000 grams after 15 minutes for smooth walls, which helps us decide if a surface is suitable under recommended conditions.
If the sample starts to slide, lift, or fall, we treat that as an early warning. In most cases, this points to paint that has not fully cured, low-VOC paint, leftover cleaner, or light wall texture that limits contact. 3M explains that poor prep and paint type are common causes of weak adhesion, which is why testing matters before any real graphics go up.
From there, the decision stays simple. A strong result means we can move forward with confidence. A weak result means we stop, explain the risk, and adjust the plan before printing or installing. That way, clients know what to expect and avoid surprises after the graphics hit the wall.
When a wall fails the test, it is usually not the end of the project. It just means the wall needs a different approach before we move forward. Once we see the test result, the next steps are usually clear.
Here is how we handle it in real projects:
The test helps us avoid risk. Instead of pushing ahead and hoping for the best, we set clear expectations and choose a solution that actually works.
From our side at DA-Customs, this test often prevents the kind of problems no one wants to deal with later. Printing wall graphics, booking install time, and then fixing a failure costs far more than a short test during the site visit. 3M points out that proper wall prep and adhesion testing help reduce early failures and support long-term performance when the right materials are used.
For clients, this means fewer delays and fewer surprises. We know early on whether a wall will work, and if not, we adjust the plan before anything gets printed. That small step keeps projects moving and helps wall graphics stay in place instead of becoming a quick-fix job.


